AUTOMATIC DOOR OPENING SYSTEM USING ARDUINO
AUTOMATIC DOOR OPENING SYSTEM USING ARDUINO 
Today’s era is all about technology. With everything going digital and automatic, the doors of the building required a modification too. You might have seen people doing extra efforts to open the large doors of garage and party halls for others. It also consumes a lot of time to wait for the doors to be opened by self or others. The automatic door opening system is a great alternative that we can use for a hassle-free experience at such places.
Not only this, but automatic doors also provide the ambiance of luxury, by using this system your house becomes a smart house, having a modern feature. Most shops and buildings are using this feature to make their place bit more attractive and modern.
How does it work?
The automatic door uses the basic functioning of IR sensors which when combined with motor driver and Arduino, makes the regulatory and accurate movement of the door work. IR Sensors or infrared sensors as we know, are capable of detecting infrared light. We used this specialty of the IR Sensors to detect the motion of the human body. As human body also emits infrared radiation, IR Sensors installed in the doorways catches the radiation whenever a person approaches or goes away from the door and conveys the same to Arduino microcontroller. The Arduino uno processes the data based on the code fed into it, and accordingly tells the motor driver to open and close the door for the person passing through it.
For better understanding, you can refer the block diagram given below, that explains the basic working of the automatic door opening mechanism.

Step 1: Collecting the Components required for this project.
- Arduino UNO microcontroller
- 2 x IR Sensors
- DVD loader
- L293D motor driver IC
- 9V DC Adapter
- Resistors
- Wires
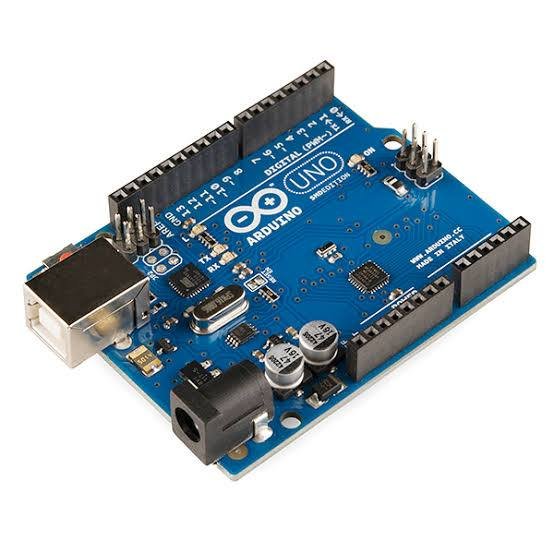

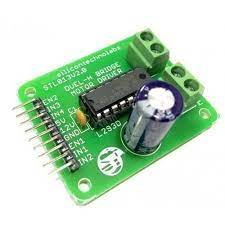

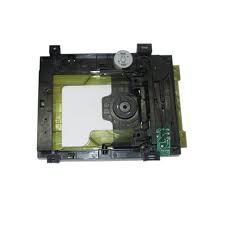
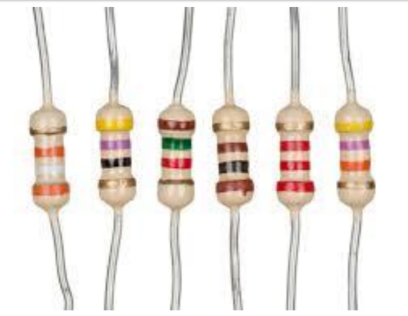
You can buy all these components with instructions by clicking here.
Step 2: Assembling the Components – Circuit Design
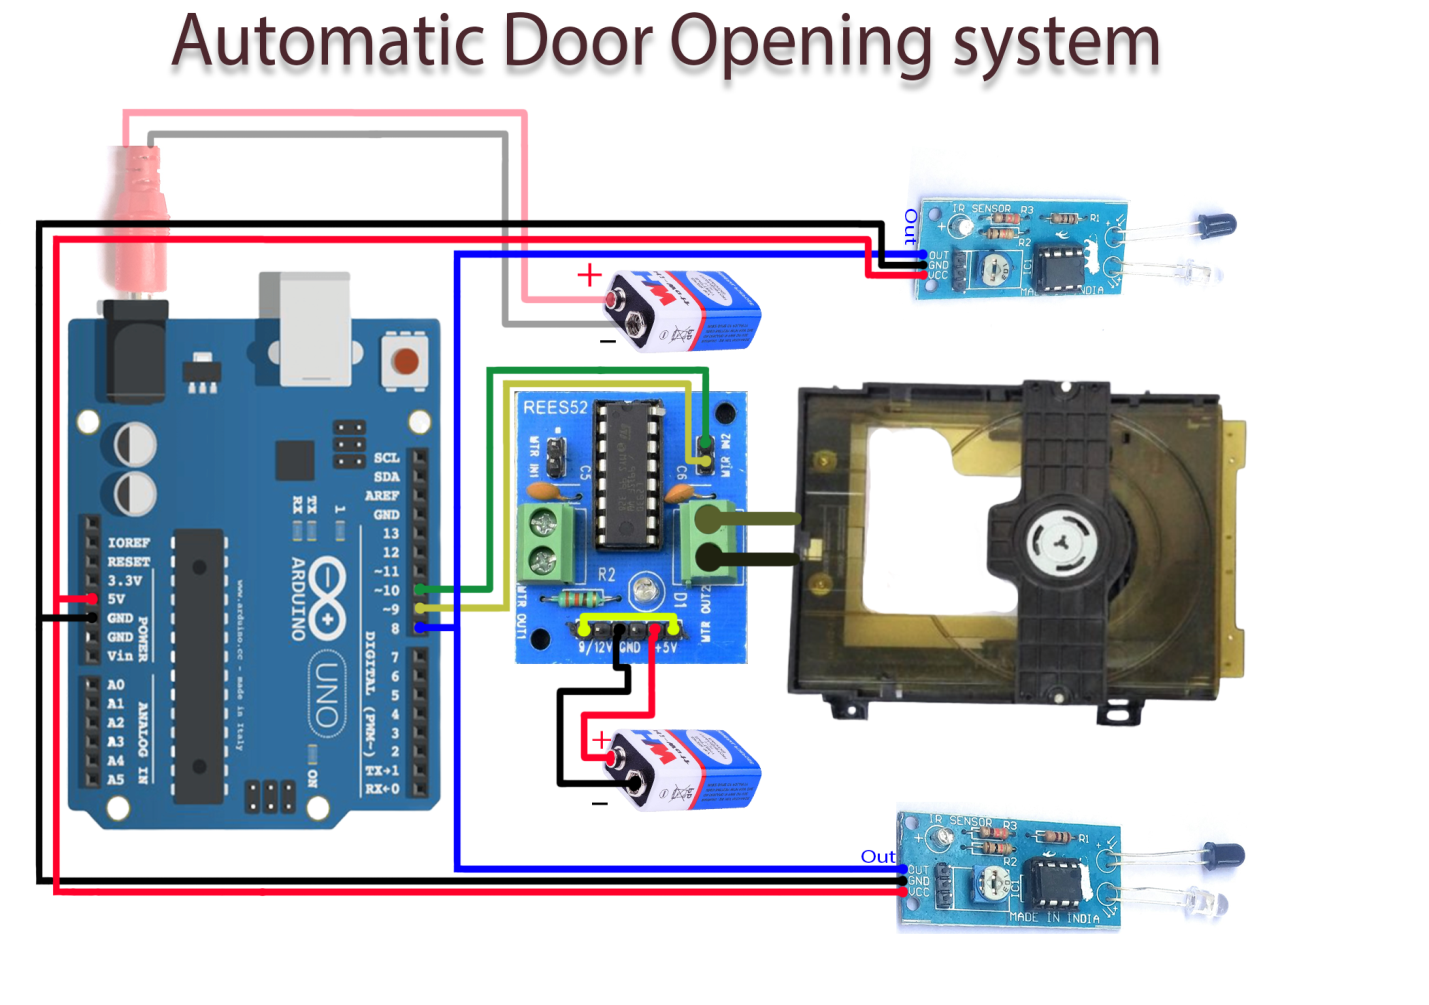
Connect all the components with the required wires as shown in the above diagram
Step 3: Uploading the Code in the microcontroller
- Connect the Arduino UNO to PC or laptop with given USB cable.
- Open Arduino IDE or download it from here
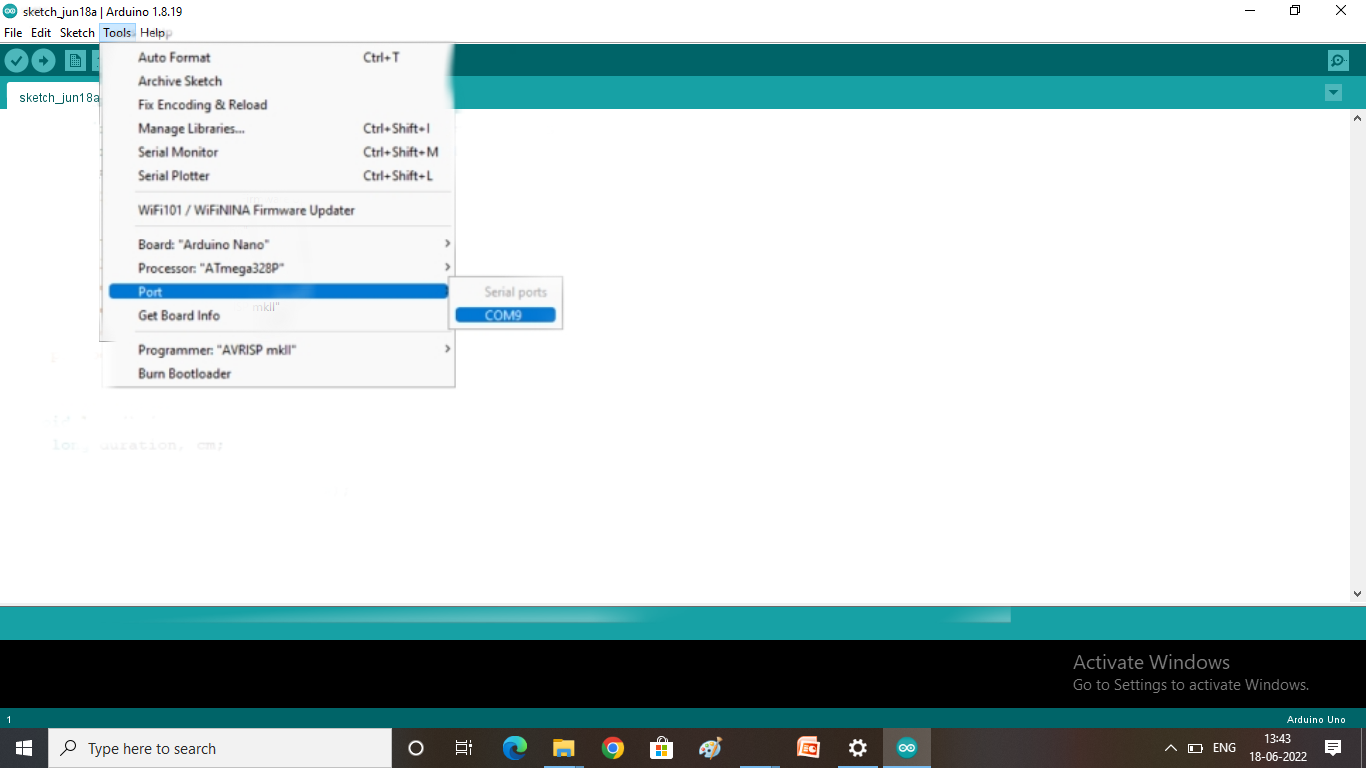
- Go to tools> Board:> and select Arduino UNO

- Select TOOL> PORT> COM port
Note that the port option will not be active until you connect Arduino with your laptop
If you have connected the Arduino and it is still not active then you might want to check your driver, use CH340 for Arduino
- Copy and paste the code given below in the Arduino IDE and hit Upload
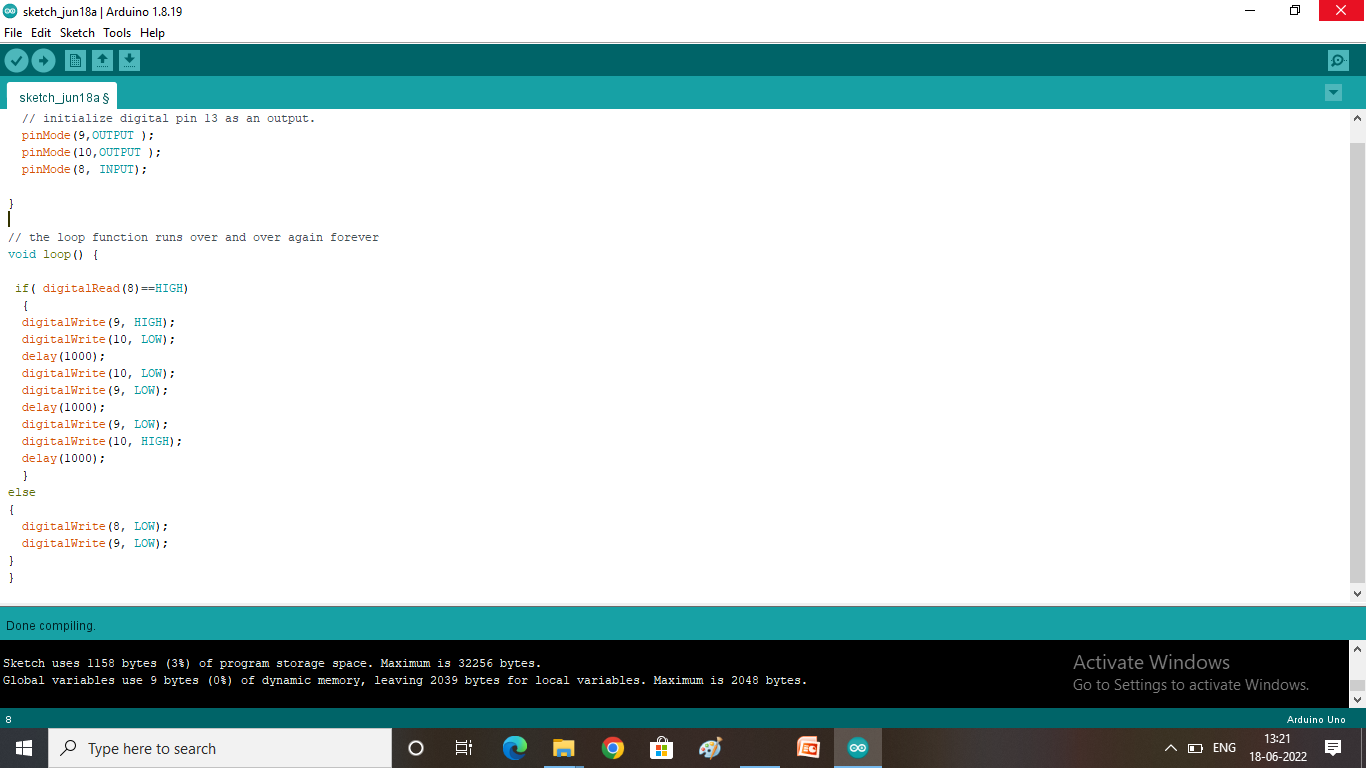
void setup() {
  pinMode(9,OUTPUT );
  pinMode(10,OUTPUT );
  pinMode(8, INPUT);
}
void loop() {
  if( digitalRead(8)==HIGH) {
    digitalWrite(9, HIGH);
    digitalWrite(10, LOW);
    delay(1000);
    digitalWrite(10, LOW);
    digitalWrite(9, LOW);
    delay(1000);
    digitalWrite(9, LOW);
    digitalWrite(10, HIGH);
    delay(1000);
  }
  else {
    digitalWrite(8, LOW);
    digitalWrite(9, LOW);
  }
}
FINAL PROJECT
If you want to buy this handmade project, with complete project synopsis for yourself


Figure BEFORE ENTERING

Figure AFTER EXIT
Thank you for learning with us. We hope all the steps and details are easy to understand. You can try to make your own gesture control robot by watching this easy tutorial video.
<iframe width=”766″ height=”431″ src=”https://www.youtube.com/embed/g5uzHU2MfW0″ title=”How to make a Automatic Door Opening system using arduino” frameborder=”0″ allow=”accelerometer; autoplay; clipboard-write; encrypted-media; gyroscope; picture-in-picture” allowfullscreen></iframe>
If you want to buy this handmade project, with complete project synopsis for yourself click here to buy
And that’s it. Thanks for learning with SR Robotics if you have any doubts or query you can contact us with the help of links given below.
For more Robotics projects, join our SR Robotics community

To buy more kits, visit our website
Check more on our website
![]()
Subscribe SR Robotics channel on YouTube and keep learning

Get all latest update on our telegram


